I was shocked to learn the plumbing firm who installed my tankless water heater in my new home wanted $400+ to come and do the required annual maintenance! I can’t skip it, either. Once a year you must flush the heater with vinegar for 1 hour to remove lime deposits that build up inside the heater, and clean the water filter. If not done, the heater will go into error mode and stop working. It will continuously beep a warning and flash code 10 where the water temperature setting normally is.
The Rinnai warranty states your warranty may be revoked if you fail to flush your heater yearly and there is any evidence of lime build up.
I contacted Rinnai and they replied the homeowner is allowed to do this cleaning (a professional isn’t required).
So, I decided to flush my heater and clean the filter myself.
Below you’ll find my instructions easy to follow and I shot photos showing exactly what to look for and do. Rinnai also has a brief instruction page and 2-minute video at https://www.rinnai.us/residential/flushing-my-rinnai-tankless-water-heater but less detailed as the following…
Here’s how easy it is to flush your water heater…
You’ll spend 15 minutes setting up a pump to clean the heater using vinegar. Then go get a cup of coffee while the pump runs for 1 hour. During this time you’ll have no water service in your home. Then spend 15 minutes cleaning the heater’s reusable water filter, resetting everything, and turning the heater on.
Materials you’ll need…
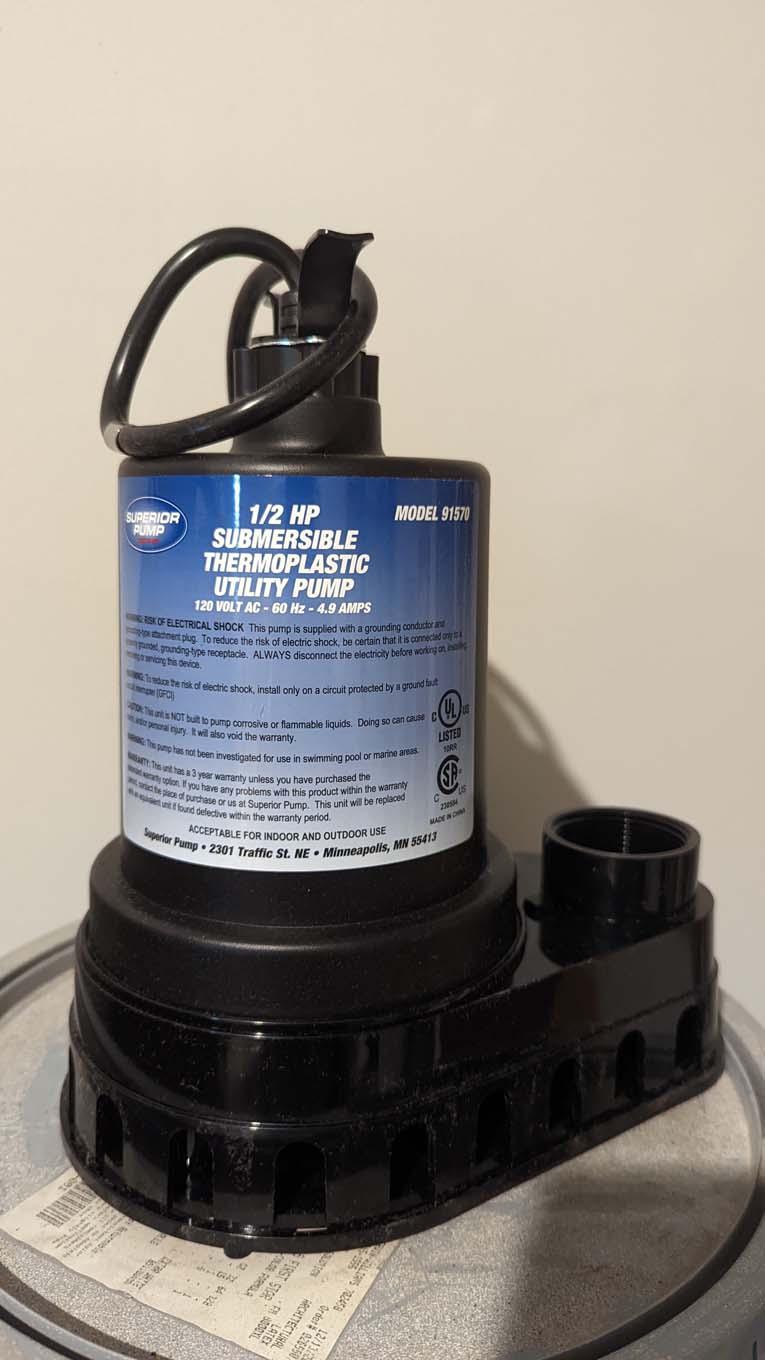
Submersible pump. I found buying a pump at Home Depot would cost too much because they only have expensive sump pumps in stock. I found less costly choices on Amazon like “Superior Pump 91250 1/4 HP Thermoplastic Submersible Utility Pump” for $57. See online.
I spent a bit more for a 1/2 HP pump as it moves more water faster and I may use it for a backyard waterfall when not cleaning the heater.
If you’d like to try this before you buy, visit 6825 Trailway Trace to borrow my pump.
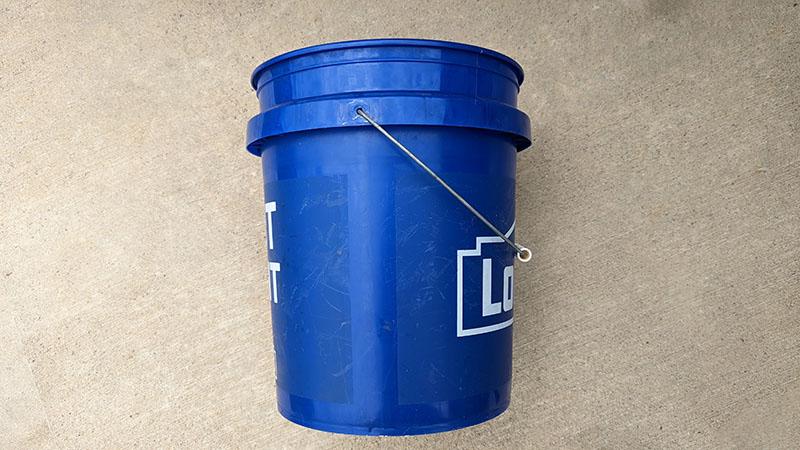
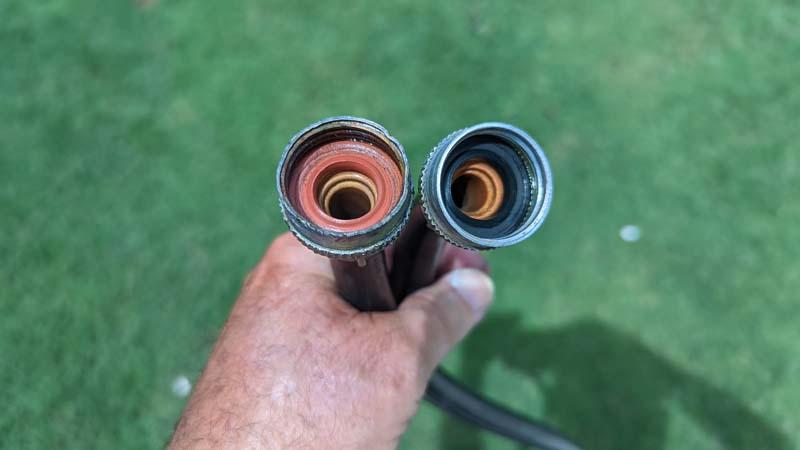
5 gallon clean plastic bucket and 2 short hoses. One hose needs female connectors on both ends, like a washing machine hose has. You can use a garden hose but you’d need a male to female adapter to make both ends female. This hose pumps vinegar in the bucket up into the heater. A 2nd hose drains vinegar out of the heater back to the bucket, and it only needs 1 female connector. The other end can be anything.
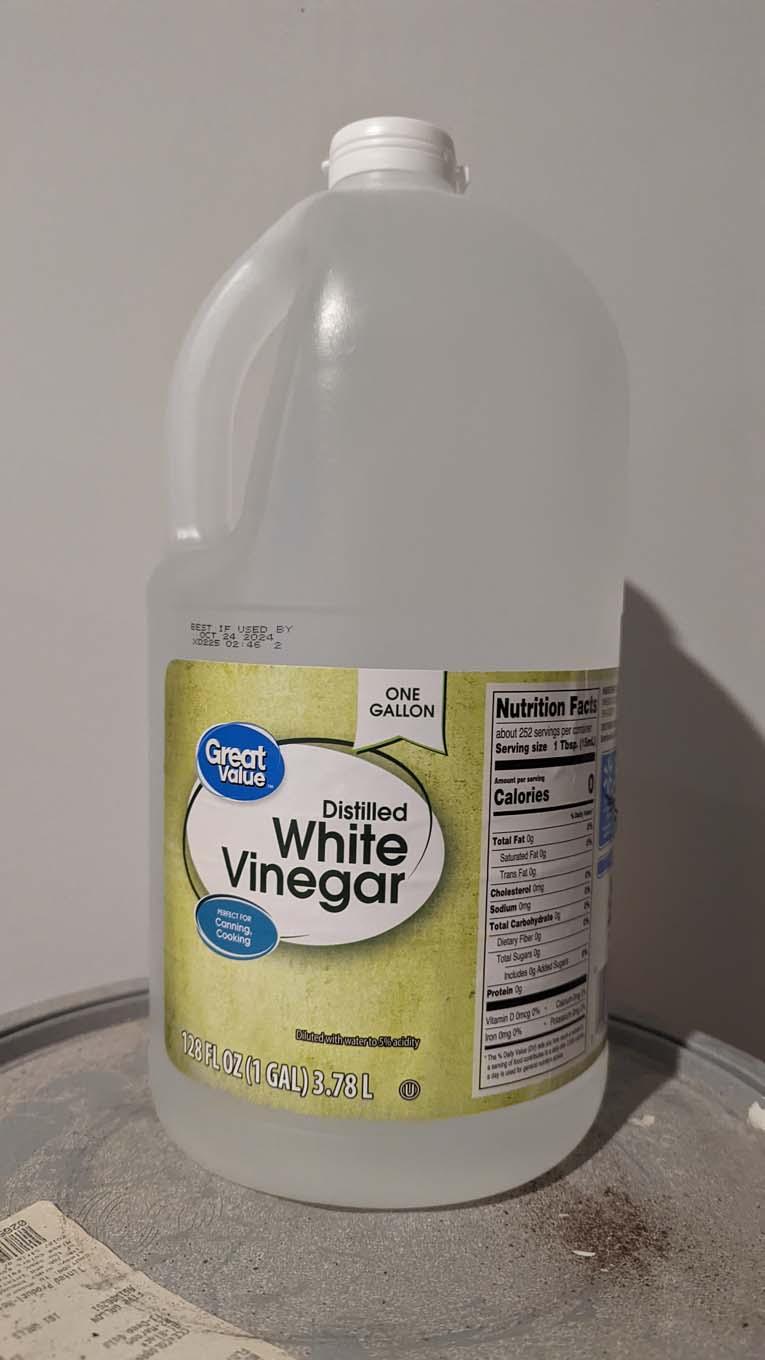
4 gallons of food grade vinegar. Cheap at Walmart. Don’t use “cleaning” vinegar (5% solution) – Rinnai say use regular vinegar (4%).
Adjustable wrench or pliers to turn the heater water shut off valves.
1/2” or 13mm socket or regular wrench to turn the heater drain valves.
Needle nose pliers to remove the filter.
Another small container to hold a few cups of water.
A tiny round brush (<= 3/8″) or old toothbrush to clean inside the water filter (see photo below).
Steps to Clean!
Before you start, set aside a cup of tap water to use later to clean the water heater filter.
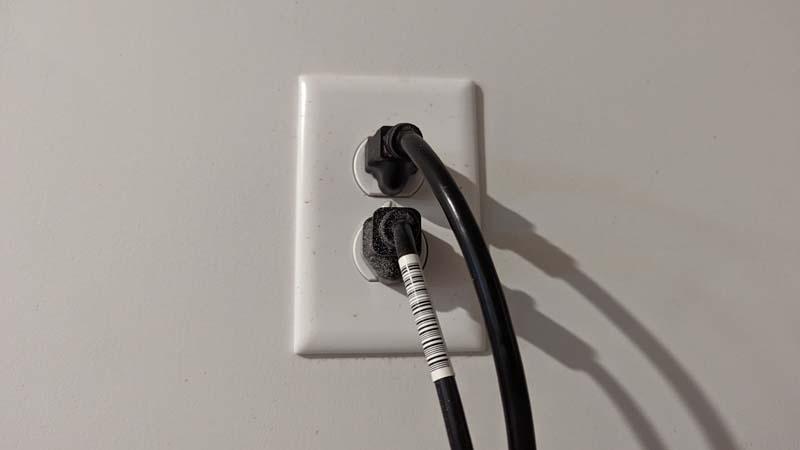
Unplug the two water heater AC cords.
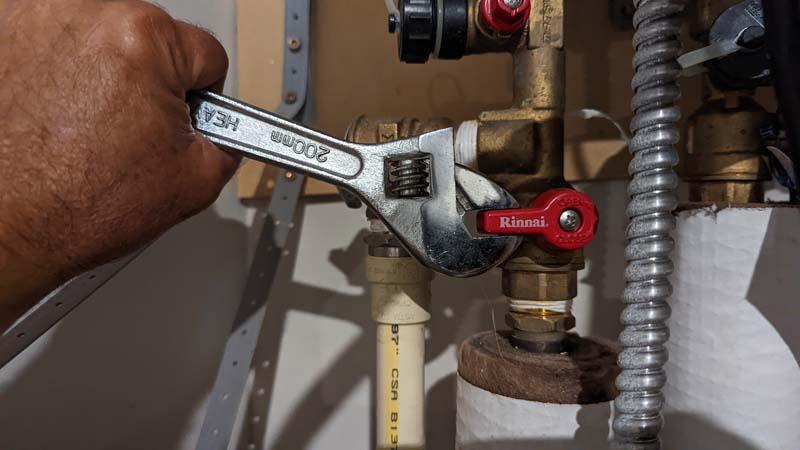
Turn the hot water shut off valve (colored red) by rotating clockwise 90 degrees to the position shown. (Off is when the handle is at a right angle to the pipe, and not parallel to it.) It was hard to turn by hand so I used an adjustable wrench.
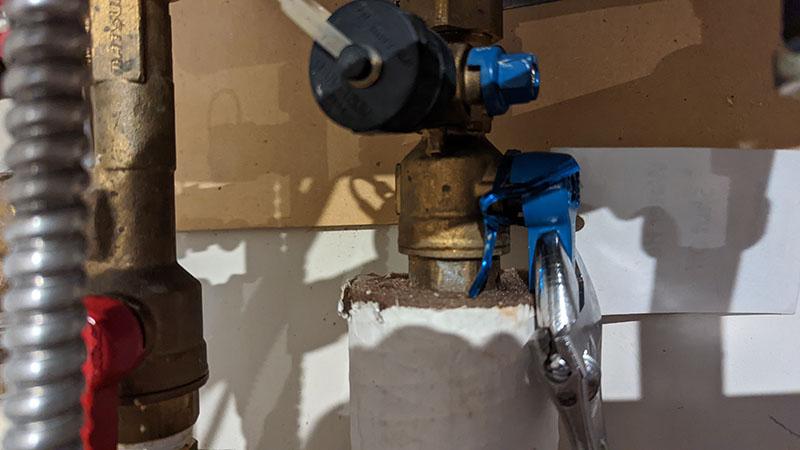
Turn the cold water shut off valve (colored blue & shown in this photo before I turned.) Turn it “off” 90 degrees clockwise until the handle is not parallel with the pipe.
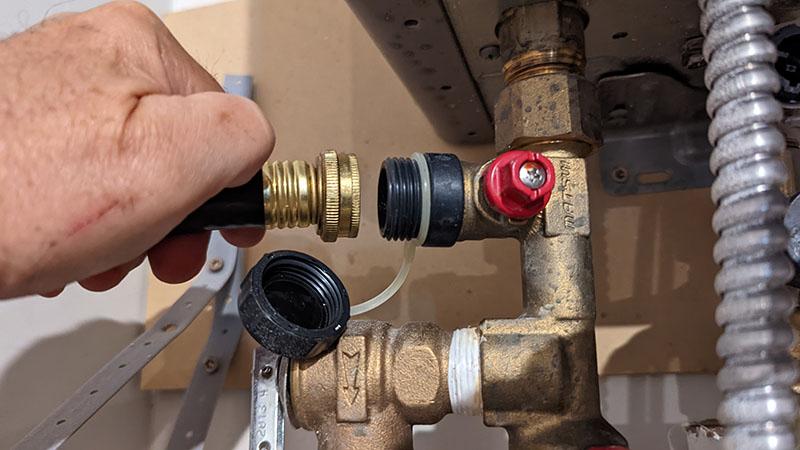
Unscrew the black cap on the hot water (red) service drain valve and connect the hose with one female end (the other end can be anything).
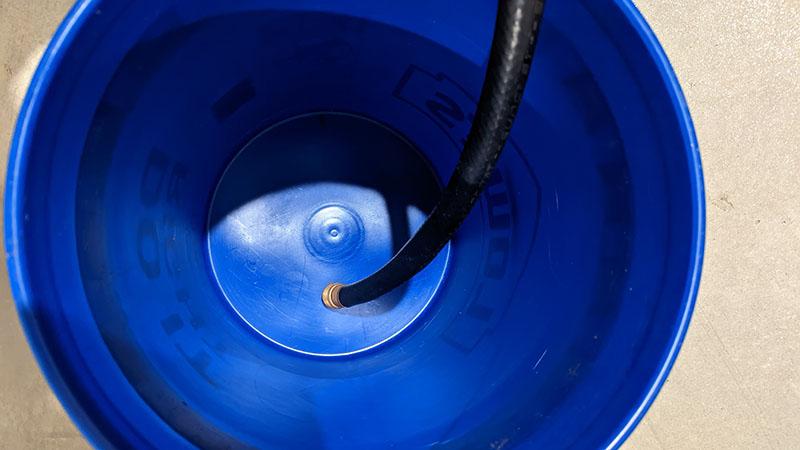
Place the other end in the clean 5 gallon bucket where it will drain. This is the hose that drains vinegar back from the heater.
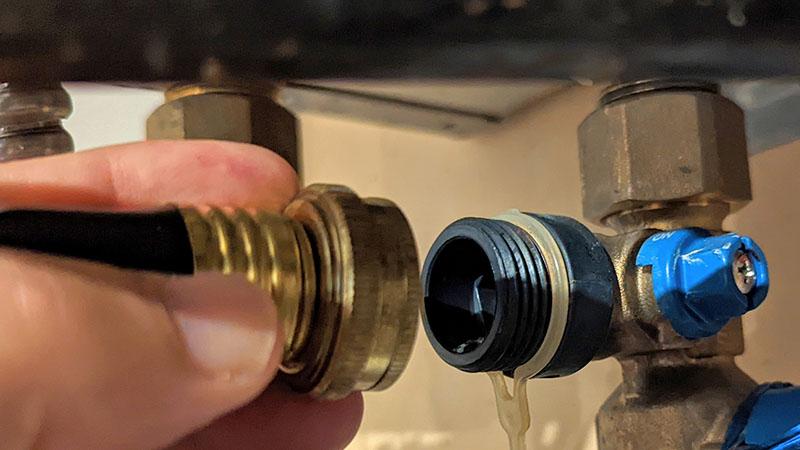
Connect a hose that has 2 female ends to the blue cold water drain valve.
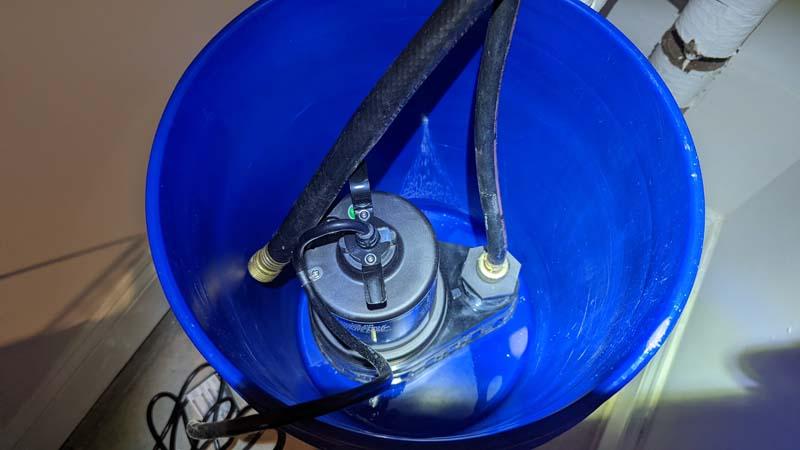
Connect the other end to the pump in the bucket. Do not plug the power cord in yet. This hose will pump vinegar from the bucket back into the heater, so vinegar circulates in and out of the heater for an hour cleaning it.
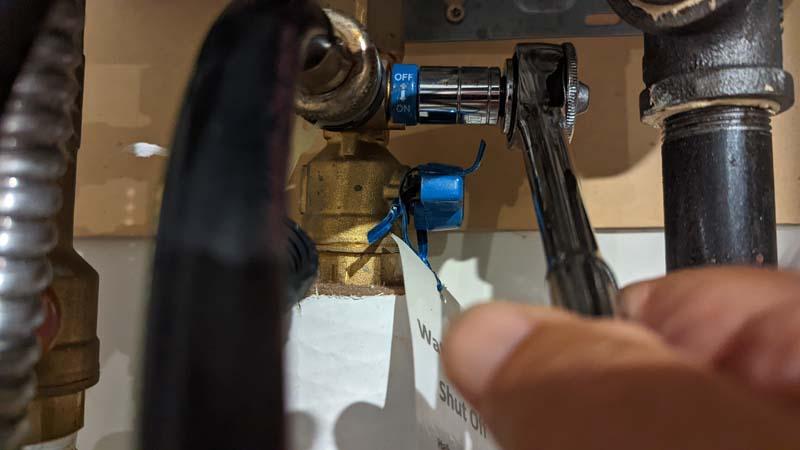
With an 13mm or 1/2” socket wrench (or regular wrench) open the red hot and blue cold service drain valves (where you connected hoses) by turning counter clockwise until you feel them stop.
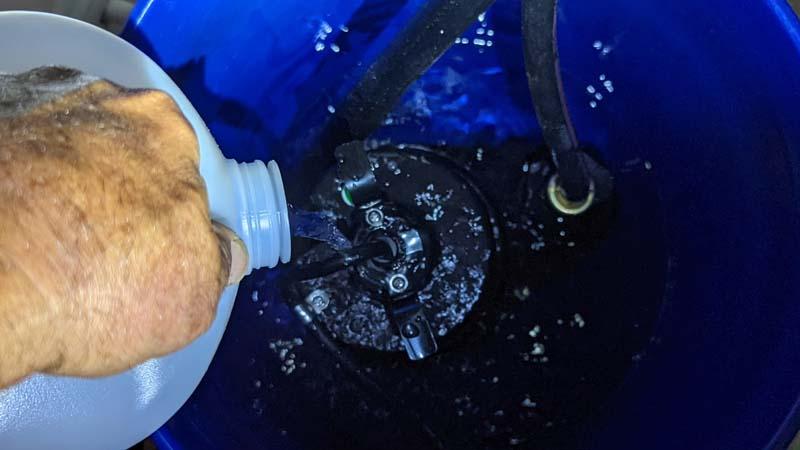
When you open the blue valve a little water drains into the bucket. (You can empty it if you wish, then place the pump back in.) Then pour 4 gallons of vinegar into the bucket. If your pump is large you may not get all 4 gallons in, that’s OK.
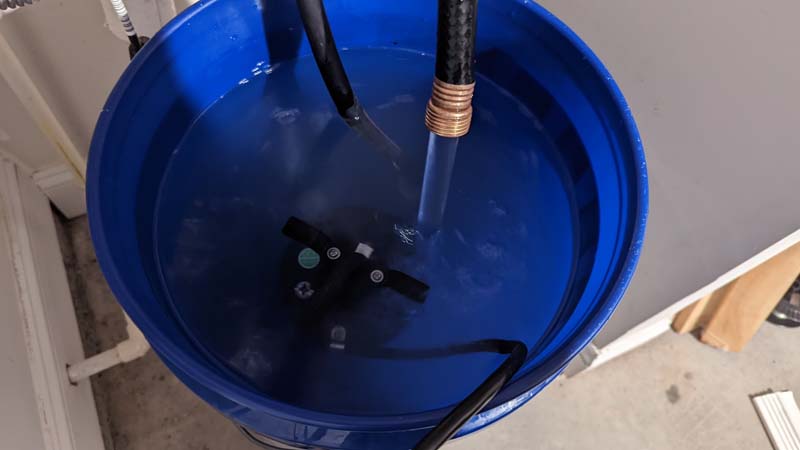
Plug the pump in and run for at least one hour, more won’t hurt. When done unplug the pump.

With an 13mm or 1/2” socket wrench, shut the blue cold service drain valve by turning clockwise until you feel it stop.
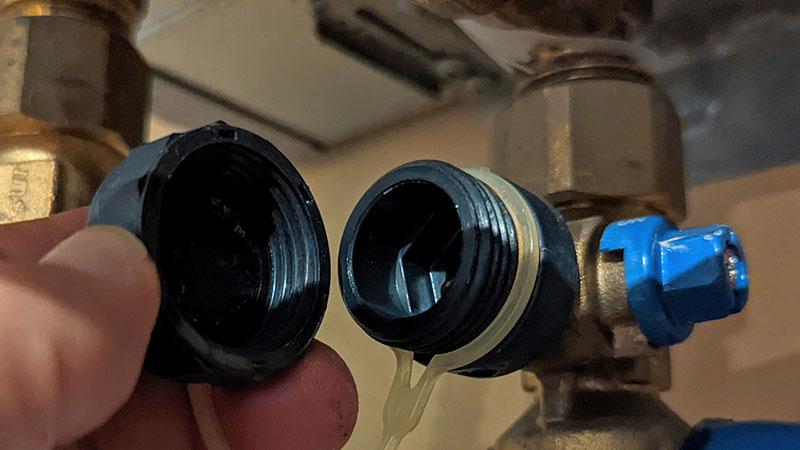
Disconnect the hose at the blue cold service drain valve and replace the cap. Do not remove the other red hot drain drain hose, but move its end out of the pump bucket out and into another small container that can hold a few cups.
Take the pump bucket of vinegar, pump and blue drain hose to where you can empty the vinegar (I chose a toilet.) We won’t need the pump again, just rinse it. Take the empty bucket back to the heater and put only the hot water drain hose in it again.
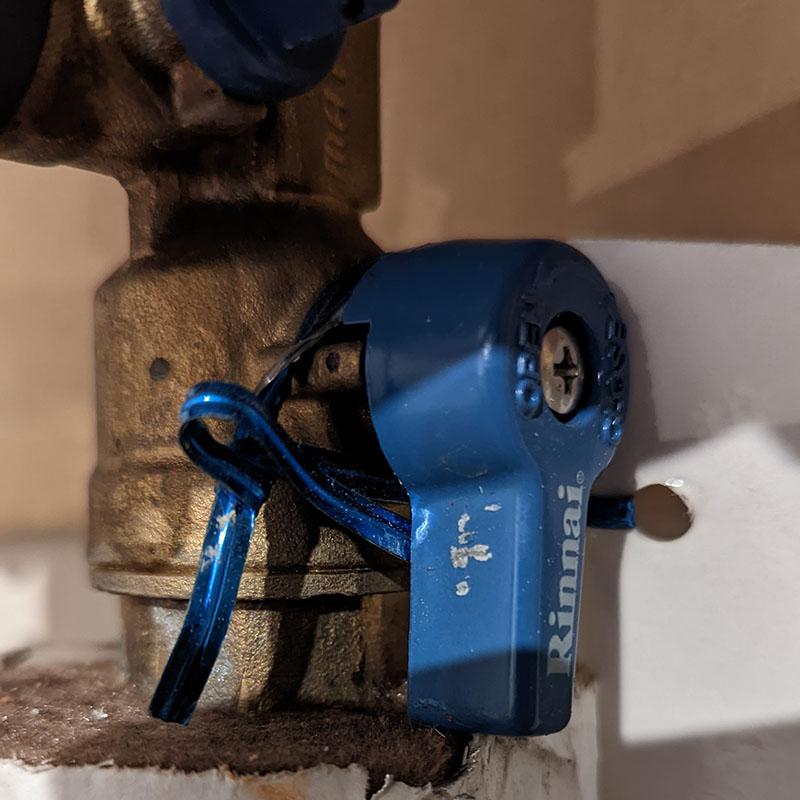
With a wrench turn on the cold water shut off valve 90 degrees until the handle is parallel with pipe as shown. Fresh water is now running through the heater to the bucket. Be ready to turn it off when the bucket is getting full. Rinnai says to let it run for minute or two. (I filled and emptied my bucket twice to insure the heater was flushed clean of vinegar and debris.) Leave the valve off during the final step…
Cleaning the Filter
Now we clean the filter. The filter is the round black plastic object just below the center of the heater. When the filter is removed a few cups of water may drain from the cold water drain hose into your bucket. If the bucket is almost full you may need to empty it first. Also, up to a cup of water will drain from the filter when you remove it. There’s no room for a bucket here due to piping in the way, but you can drape and open a shopping bag under the filter to prevent water from reaching your garage floor.
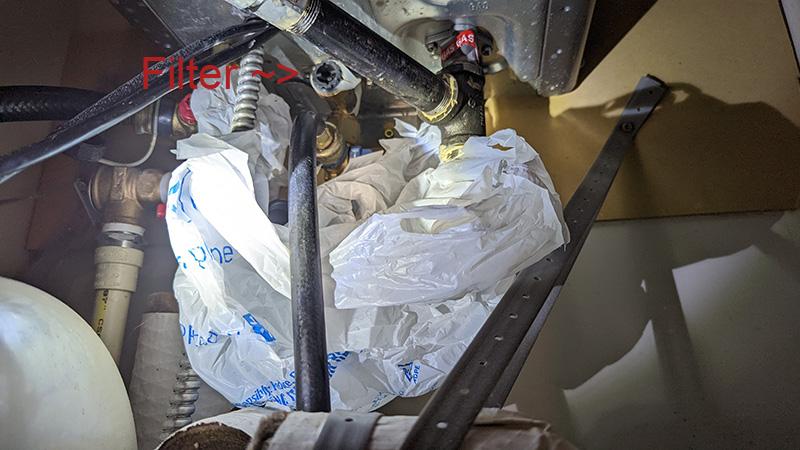
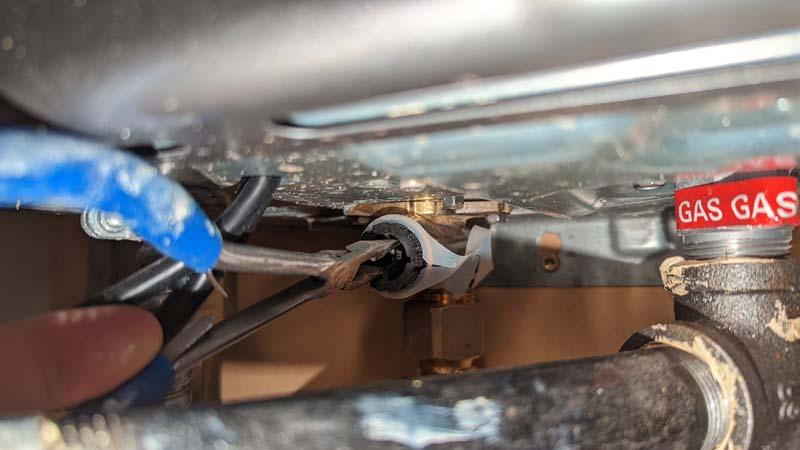
Turn the valve counter-clockwise to remove it. If it’s too hard to turn by hand, then as shown below, insert a needle nose plier inside the valve and use it to gently turn the valve counter-clockwise. Do not grasp the outside of the valve with regular pliers as that might break the plastic valve. Once you give it a short turn, you can finish removing it with you fingers. After you unscrew it, you’ll remove it from the white plastic retaining tab that surrounds it (see photo below.) Remember to slip that tab back around the filter when you screw it back in later.
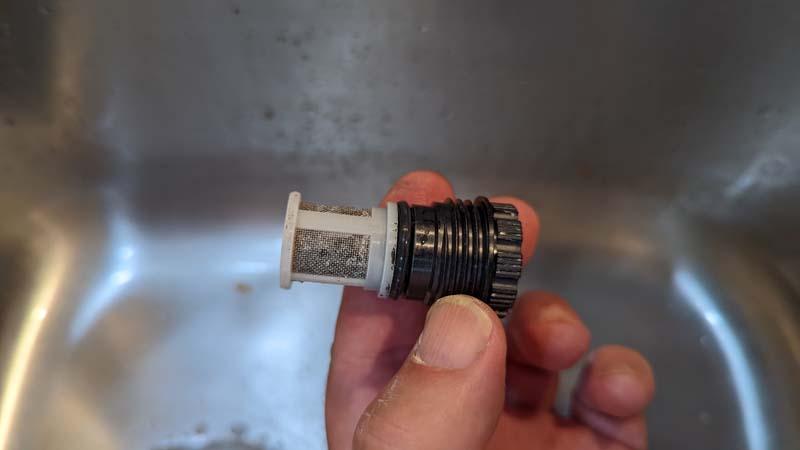
Inspect inside the screen on the removed filter. I was surprised find it blocked with a lot of debris. You can’t clean it at your sink since water is off, so use that cup of water you set aside earlier and a tiny round brush about 3/8″ wide or smaller to clean.
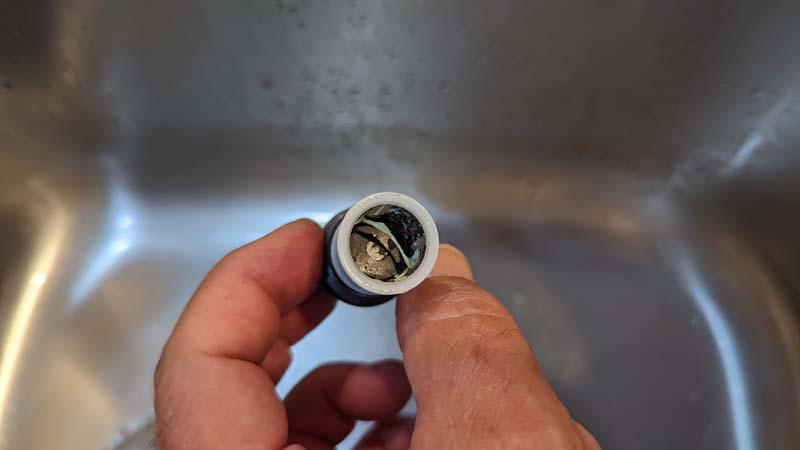
Use the brush and water to clean inside the screen. Sometimes I even use a shop vac because once it had small pieces of blue plastic film that had come into my home from the outside water supply line that didn’t get into the heater thanks to the filter (see photo below). This taught me how important it is to clean this filter. That said, the second year I cleaned it, there was little dirt, so I think home construction debris was why the first year was so dirty. However, on year three, it was clogged inside with tiny black particles that has come from the supply line, and this time scrubbing with the small brush was required, and flushing with some water. When screen holes are plugged, less water can enter your home, and your shower may be wimpy.
Replace the clean filter into the heater, tightening it clockwise using finger pressure or the needle nose pliers. Do not overtighten with tools or it may damage the filter or make it hard to remove again.

With an 1/2” or 13mm socket wrench, shut the red drain valve turning clockwise until it stops. Remove the hose from the hot water drain valve, replace the cap.

Turn both the red and blue shut off valves until they are parallel to the pipes, as shown in the two photos below. Your heater is now ready to run!

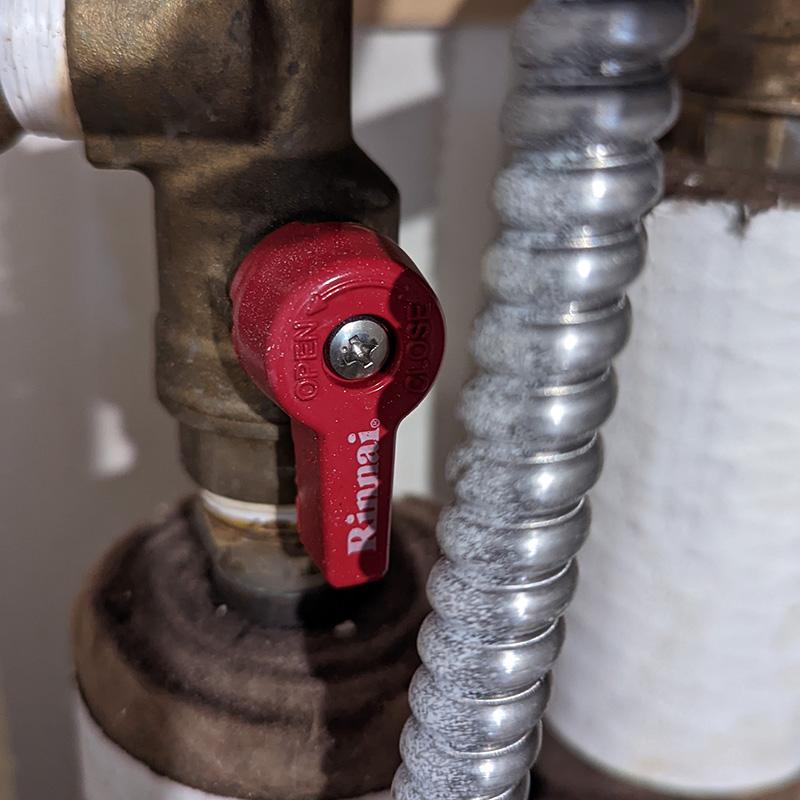

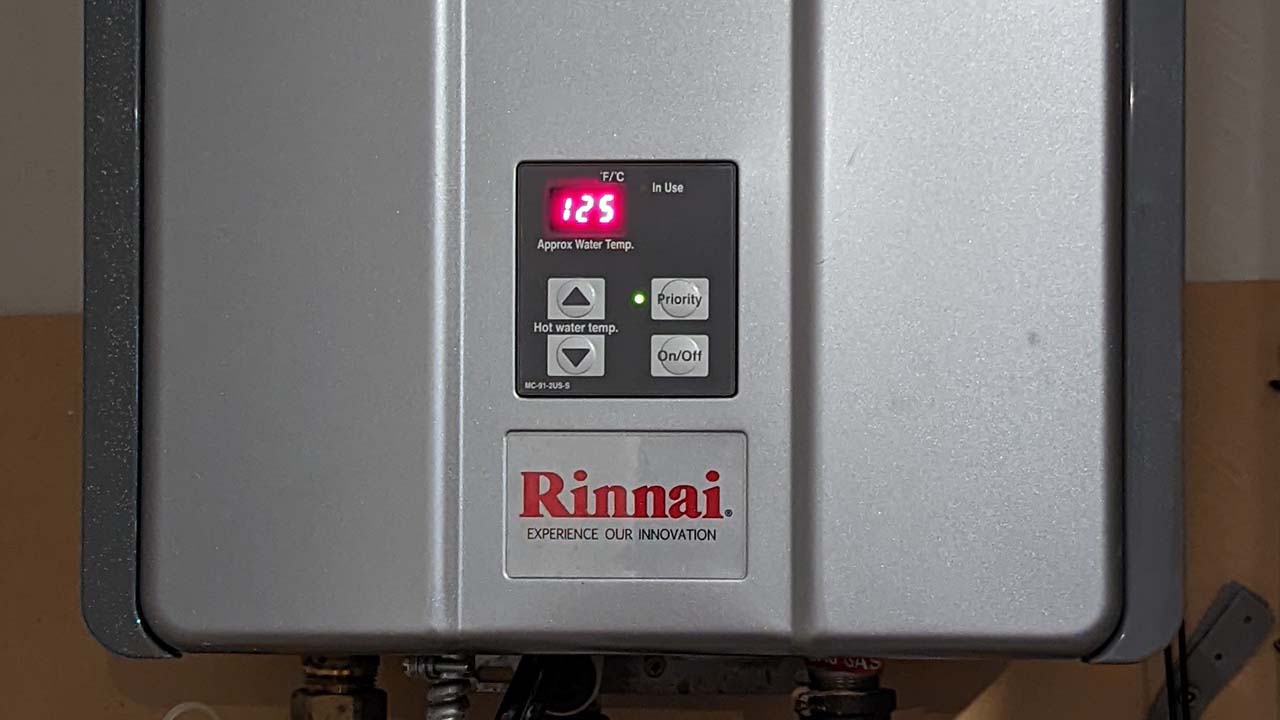
Plug in the water heater AC cords. Press the heater on/off button. The heater will start up for a minute and run awhile getting water warm again. Be sure to check your water filter to make sure you tightened it well and there’s no dripping.
Be sure to mark your calendar one year from now to repeat the cleaning. If you are a few weeks late your heater will sound an alarm and shut down.
Your heater may periodically need other maintenance that involves removing the heater cover where inside the fan, burner and heater fins may need cleaning by blowing compressed air on them. Rinnai states only a Rinnai certified plumber should do any work inside your heater cabinet to maintain your warranty. If your warranty is expired, then you can consider doing it yourself as these tasks are described in your heater instruction manual. My model heater is RL-75i ~ here’s a PDF of my manual: RL-75i
Warranty Registration
If you need to register your water heater to activate your warranty, the place is https://www.rinnai.us/support/registration and you’ll need your serial #. It’s on a sticker on the left side of the heater, and mine was against a wall where there’s no room to fit your head in to view it, so slip your cell phone into that space and take a photo to see your serial #. Curiously, when I registered it told me my serial # was already registered, and yet they don’t have any account for my email address, so I’m checking now with Rinnai to learn if the builder registered it under some other name/email. I’ll update this when I find out.
Great
So impressed that you took the time to do this for us. I probably will continue to hire someone to do this for our home but really appreciate you sharing this.
Thanks so much Jonathan for this thorough documentation of the items required and the steps to take to flush the Rinnai waterheater. $77 for the reusable items and $12 for the vinegar and the water heater is flushed. That will be $12 for the next flush and each one thereafter vs $400 each time. Again thank you for doing such a complete job of detaining this process.